Create a MDX Blog in NextJS 13 (using TailwindCSS)
Table of Content
- Setting up our app
- Create our first blog
- Create our homepage
- Create our blog page
- Setup blog metadata
- Create mdx components
Intro
In this guide, I'll walk you through the process of setting up a Next.js 13 Blog that leverages the new App Directory feature. We will use MDX (Extended Markdown) pages for creating our blogs and apply TailwindCSS for automatic styling. To enhance the functionality of the blog, we will explore MDX Components that add interactivity to our MDX blogs. By the end of this tutorial, you'll have a fully functional and uniquely styled blog using the latest Next.js features. Let's get started!
In order to learn more about MDX, take a look at this blog here: What is MDX?
In Next.js there are 3 approaches for rending MDX pages:
- next/mdx - The official tool built by the Next.js team
- mdx-bundler - A fast, mdx compiler and bundler
- next-mdx-remote - Built by Hashicorp
In this tutorial we'll use next-mdx-remote, reading our blogs from the file system. next-mdx-remote gives us the ability to expand in the future and pull blogs from external sources such as a database, a CMS (Content Management System) such as Contentful or Headless Wordpress, or even an external tool such as Notion.
1.Setting up our app
To settup our aplication,we're going to use the following commad.This will create the basic nextjs template
npx create-next-app@latestThen a prompt will appear like this
What is your project named? my-app
Would you like to use TypeScript? No / Yes
Would you like to use ESLint? No / Yes
Would you like to use Tailwind CSS? No / Yes
Would you like to use `src/` directory? No / Yes
Would you like to use App Router? (recommended) No / Yes
Would you like to customize the default import - Project name - choose an appropriate name such as
my-mdx-blog - Use typescript - yes
- Use eslint - yes
- Use tailwind css - yes
- use src directory - You can choose yes or no, but I chose no.
- use app router - yes
- customize the default import alias - no
Setup package
There are a few required packages to install, to do so, run the following commands:
npm install next-mdx-remote - - We will use this to display our MDX files as blogs
npm install gray-matter - This will allow us to add metadata to our blogs such as title or description
npm install @tailwindcss/typography - This will allow us to automatically style every markdown element in our blog without writing the CSS for every component ourself.
Add tailwind css plugin
In the tailwind.config.js file, we need to add typography plugin to our current TailwindCSS settup
//tailwind.config.js
module.exports = {
  theme: {
    // ...
  },
  plugins: [
    require('@tailwindcss/typography'),
    // ...
  ],
}
Cleanup Default Styling
In the globals.css file, remove all the pre-written CSS and replace it with the following. This imports tailwindcss into our application.
/* globals.css */
@tailwind base;
@tailwind components;
@tailwind utilities;
Add basic styling
In our root folder (app/layout.tsx) we add some basic styling such us dark background padding & margin
/* app/layout.tsx */
return (
    <html lang="en">
      <body className={`${inter.className} relative mx-auto md:container lg:px-72 xl:px-32 bg-slate-700`}>{children}</body>
    </html>
  )
2.Create our first blog
Now that our application is setup, we can create our first blog.
Create content directory
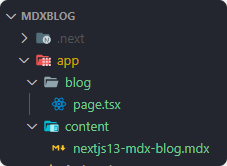
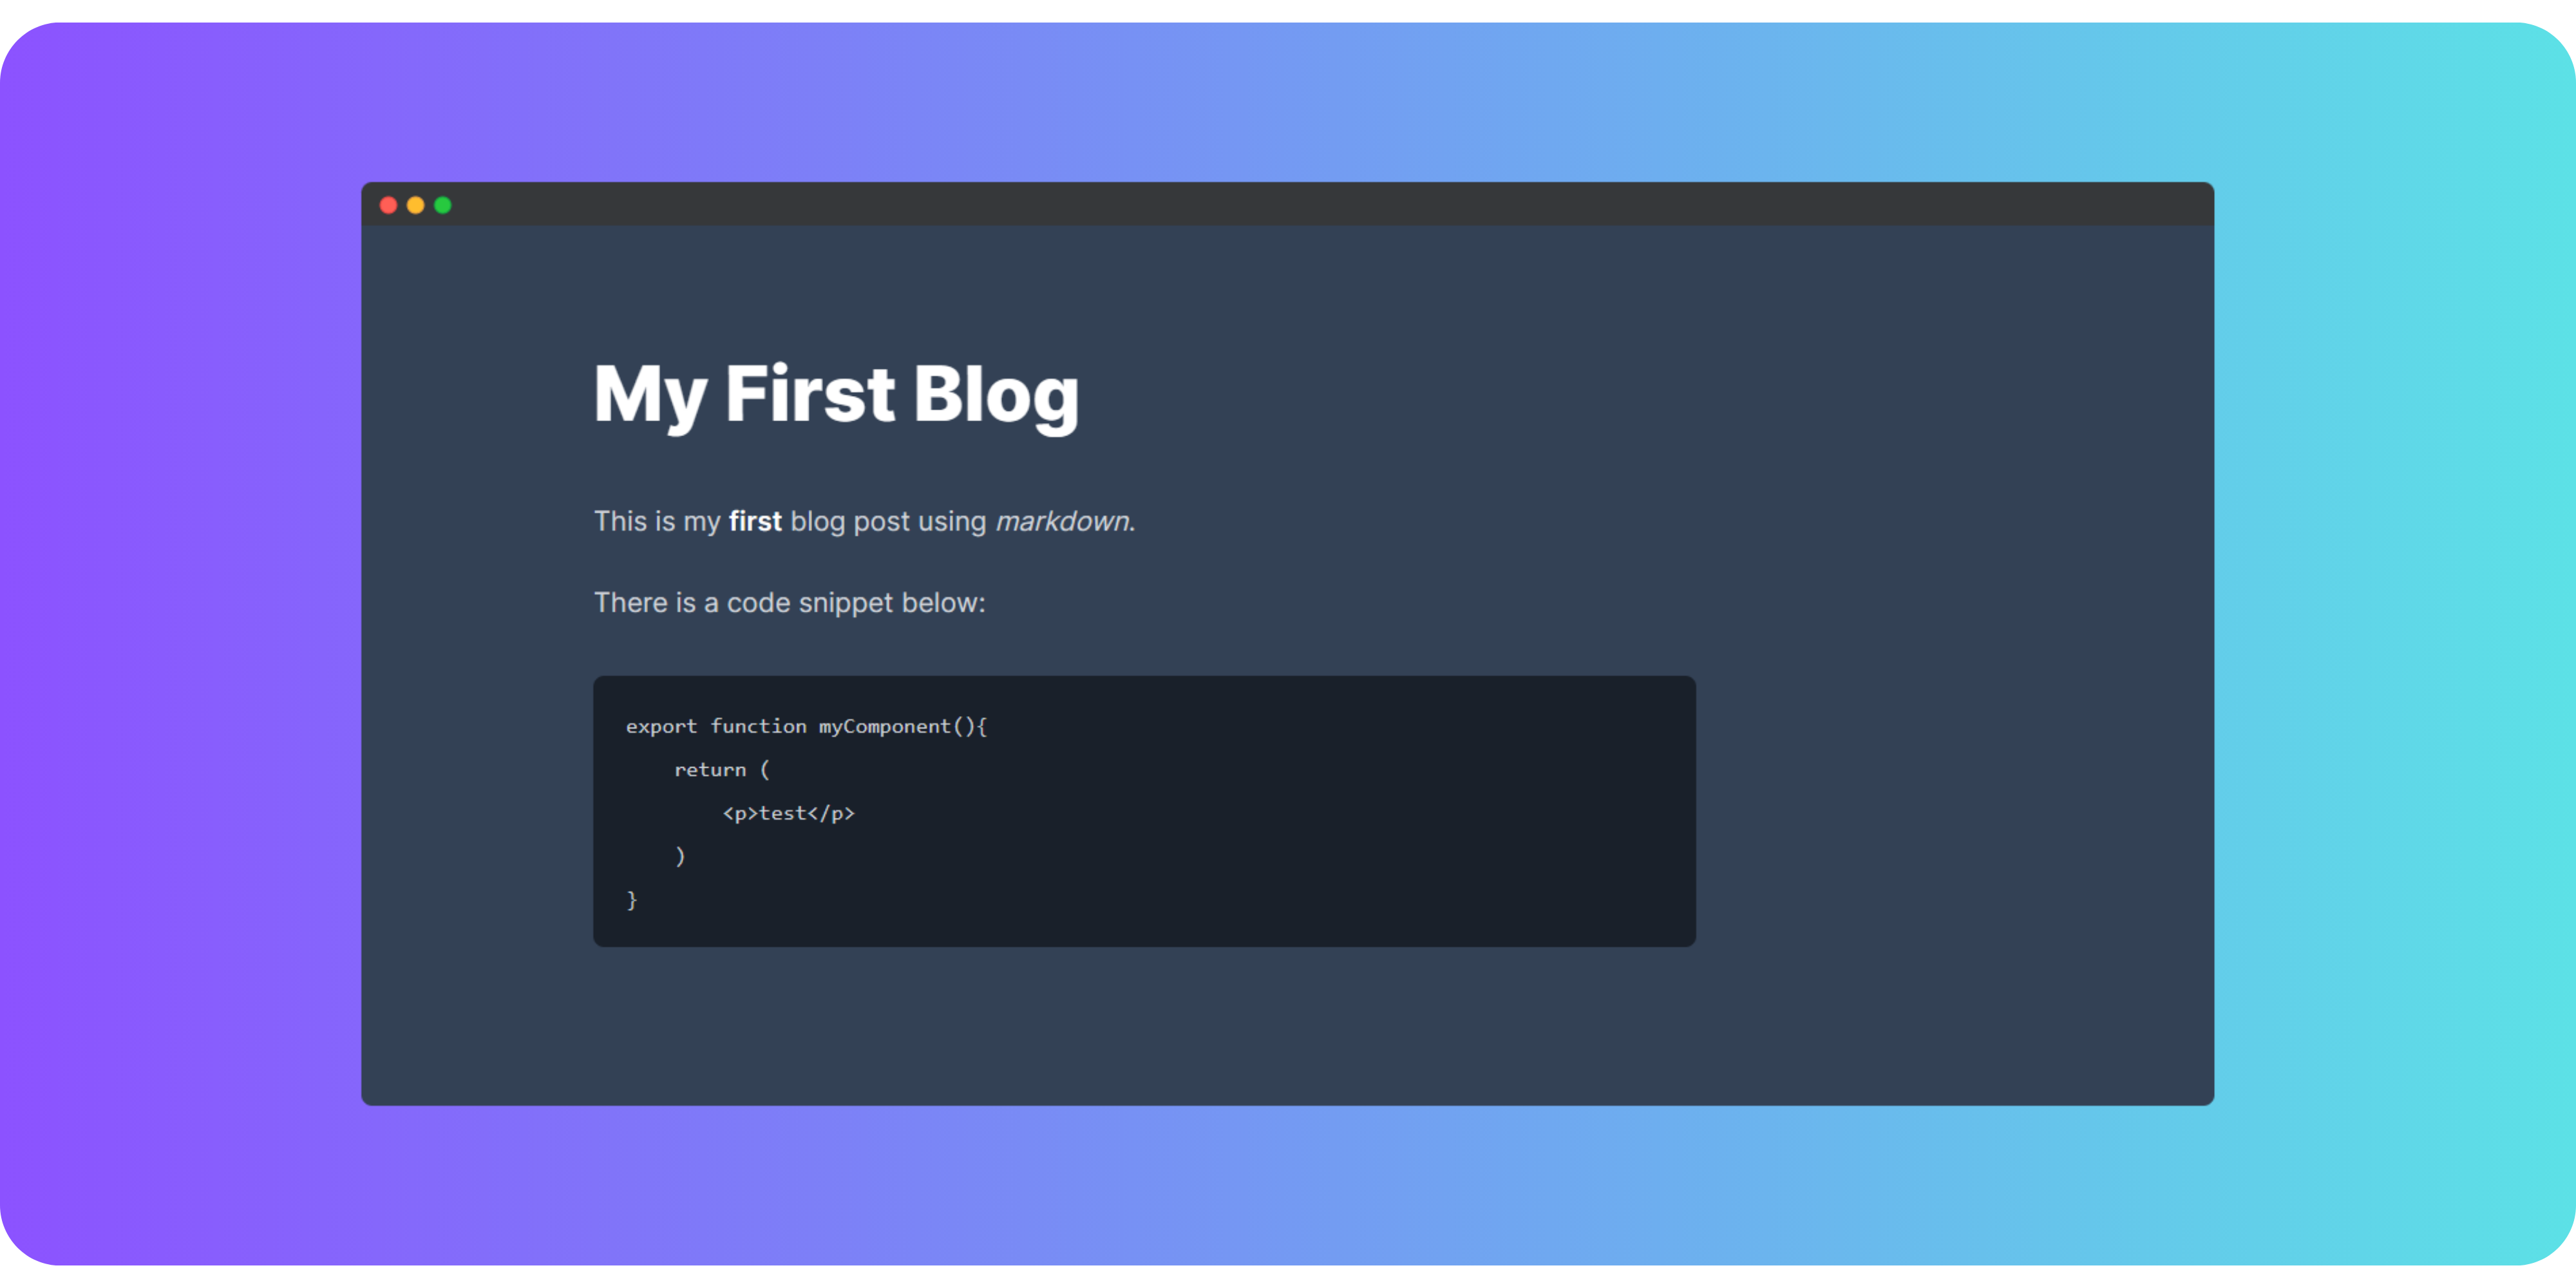
Create a file nextjs13-mdx-blog.mdx and enter the following
---
title: My First Blog
date: '18th April 2023'
description: Welcome to my first blog.
---

This is my first blog post using markdown.

```js
export function myComponent(){
    return (
        <p>test</p>
    )
}
3.Create our home page
The homepage will display the title,description & date of each blog post with a link to the full blog post
Required import
first we need to import :
- fs to read our blog from the file system
- path to find the local path to our blogs
- matter to extract the metadata from our blogs
- Link to able the link to our blogs
first we create a folder called lib (app/lib) then we create a file called mdx.ts
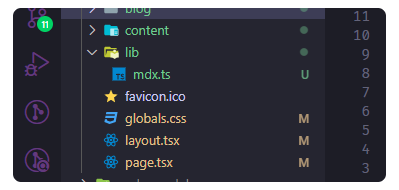
/* app/lib/mdx.tsx */
import fs from 'fs'
import path from 'path'
import matter from 'gray-matter'
Read mdx files
Now we need to read the file and we will return the metadata such as title, description, date and slug
The slug will be part of the blog url : /blog/[slug]
For each blog slug will just be a file name (without .mdx)
/* app/lib/mdx.tsx */
//Get current directory
const blogDir = path.join(process.cwd(),'app/content')
console.log(blogDir)

//Find all files
const files = fs.readdirSync(blogDir)

//For each blog found
export const blogFile = files.map((filename) => {
  //Read the content of the blog
  const filePath = path.join(blogDir,filename)
  const fileContents = fs.readFileSync(filePath,'utf-8')

  //Extract the metadata from the blog content
  const {data:frontMatter} = matter(fileContents)

  //Return the metadata and slug page
  return {
    meta:frontMatter,
    slug:filename.replace('.mdx','')
  }
})
Display blog previews
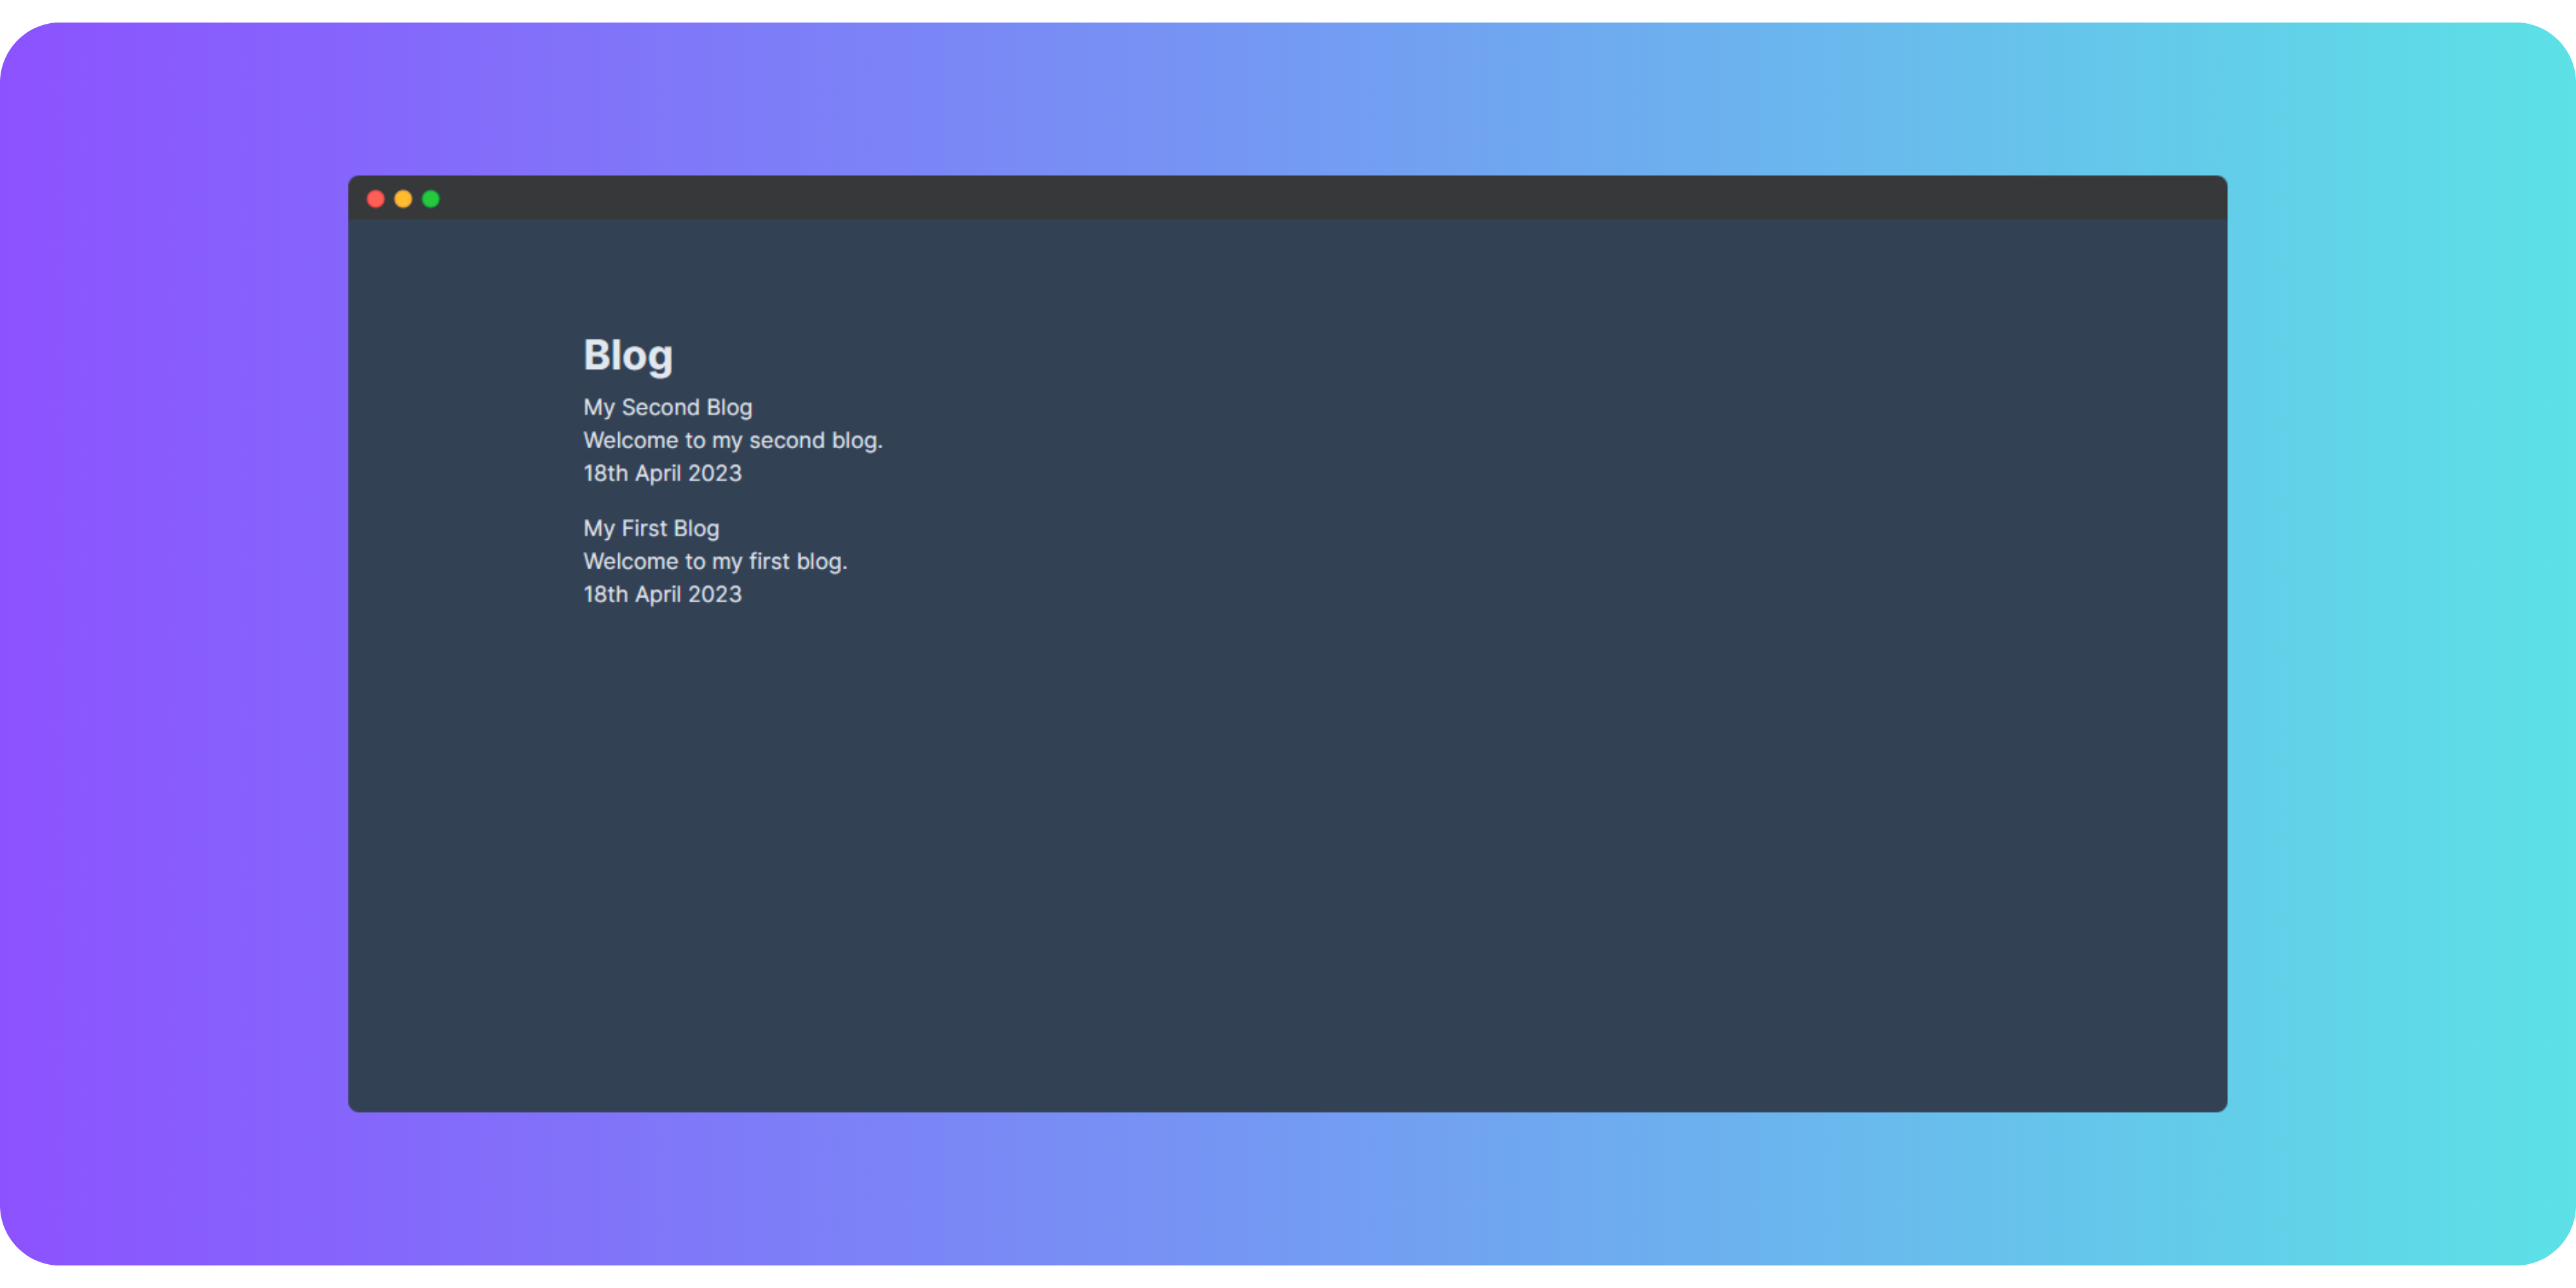
Now that we've got our blogFile variable, we can now display the blogs on the page. Here i'm mapping through each blog and displaying the blogs's title & description.
/* app/blog/page.tsx */
import React from 'react'
import { blogFile } from '../lib/mdx'
import Link from 'next/link'

const Blog = () => {
  return (
    <div className=''>
      <h1 className='text-3xl mt-20 font-bold text-slate-200'>Blog</h1>
      {blogFile.map((blogPost) => (
        <Link href={'/blog/' + blogPost.slug} key={blogPost.slug} >
        <div className='text-slate-200 py-2' key={blogPost.slug}>
          <h1>{blogPost.meta.title}</h1>
          <p>{blogPost.meta.description}</p>
          <p>{blogPost.meta.date}</p>
        </div>
        </Link>
      ))}
    </div>
  )
}

export default Blog
Now we import Blog from blog folder to app.tsx file in app folder (app/page.tsx)
/* app/page.tsx */
import Blog from "./blog/page"
export default function Home() {
  return (
    <div>
      <Blog/>
    </div>
  )
}
If we run the application with npm run dev we can see our blog preview being displayed on the home page of our application
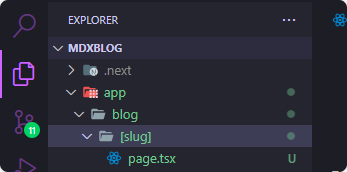
4.Create our blog page
The blog page will display the content, we will use MdxRemote to render .mdx file into hml. We will also use TailwindCSS's Typography Plugin to automatically style of our markdown. First create the /app/blog/[slug] directory and create page.tsx file inside. The [slug] directory make this a dynamic routes
First create the /app/blog/[slug] directory and create page.tsx file inside. The [slug] directory make this a dynamic routes
imports
First add the imports to the blog page. These are the same imports as the home page other than the MDXRemote which will be used to render the blog itself.
/* app/blogs/[slug]/page.tsx */
import fs from 'fs'
import path from 'path'
import matter from 'gray-matter'
import { MDXRemote } from 'next-mdx-remote/rsc'
Generate Static Params
By default, dynamic routes are generated on-demand at request time which leads to slow loading pages with bad SEO. Instead as our blogs aren't going ro regularly change, we can statically generate the routes for these blogs at build time.
To do this , we fetch all files in the "blogs" directory and return an array of slugs of each file.
/* app/blogs/[slug]/page.tsx */
export async function generaticStaticParams() {
  const files = fs.readdirSync(path.join('app/content'))
  const pathFiles = files.map((filename) => ({
    slug: filename.replace('.mdx', '')
  }))
  return pathFiles
}
Get Blog Method
This method will only retrieve blog posts from the given slug.To do this , the method reads a file in the "blogs" directory with the same filename as the slug.
/* app/blogs/[slug]/page.tsx */
function getBlog({ slug }: { slug: string }) {
  const markdownFile = fs.readFileSync(path.join('app/content/', slug + '.mdx'), 'utf-8')
  const { data: frontMatter, content } = matter(markdownFile)

  return {
    frontMatter, slug, content
  }
}
Display the Blog Post
Finally , we display the blog post. We first fetch the post with the BlogPost method the display it using the MDXRemote component.
/* app/blogs/[slug]/page.tsx */
export default function BlogPost({ params }: any) {
  const props = getBlog(params)
  return (
    <article className="mt-24 mb-24 prose prose-invert lg:prose-xl">
      <h1>{props.frontMatter.title}</h1>
      <MDXRemote source={props.content} />
    </article>
  )
}
Now click one of the blog previews and tadaaaaa
5.Setup Blog Metadata
Setting up Metadata for your nextjs blog will really help in ranking your site on Googl.The main Metadata tags to setup are title and description however there are many more that you may want to setup.
/* app/blogs/[slug]/page.tsx */
export async function generateMetadata({ params }: any) {
  const props = getBlog (params)

  return {
    title: props.frontMatter.title,
    description: props.frontMatter.description
  }
}
Future Improvements
That is it, now you have a MDX blog created with Next.js. There are now many areas that you can expand this application further including:
- Home Page - Order posts by date created
- Home Page - Only show first 10 posts
- Blogs Page - Create a "/blogs" page that shows all blogs in a paginated view
- Blog Page - Add extra metadata such as "tags" or "blog series" to create dynamically generated pages of related blogs